Sunday, December 12, 2010

On the 12th Day of Christmas

Well ... today is the last day of the Diva's 12 Days of Christmas for 2010.
We hope you have enjoyed all of the projects.

I don't know about you, but I'm not a fan of the store bought Christmas Cracker / Bon Bon.
I don't like the tissue paper hats, the jokes are not funny and the toys are rubbish.

So, the 12th Day project is to make your own Christmas Crackers / Bon Bons.

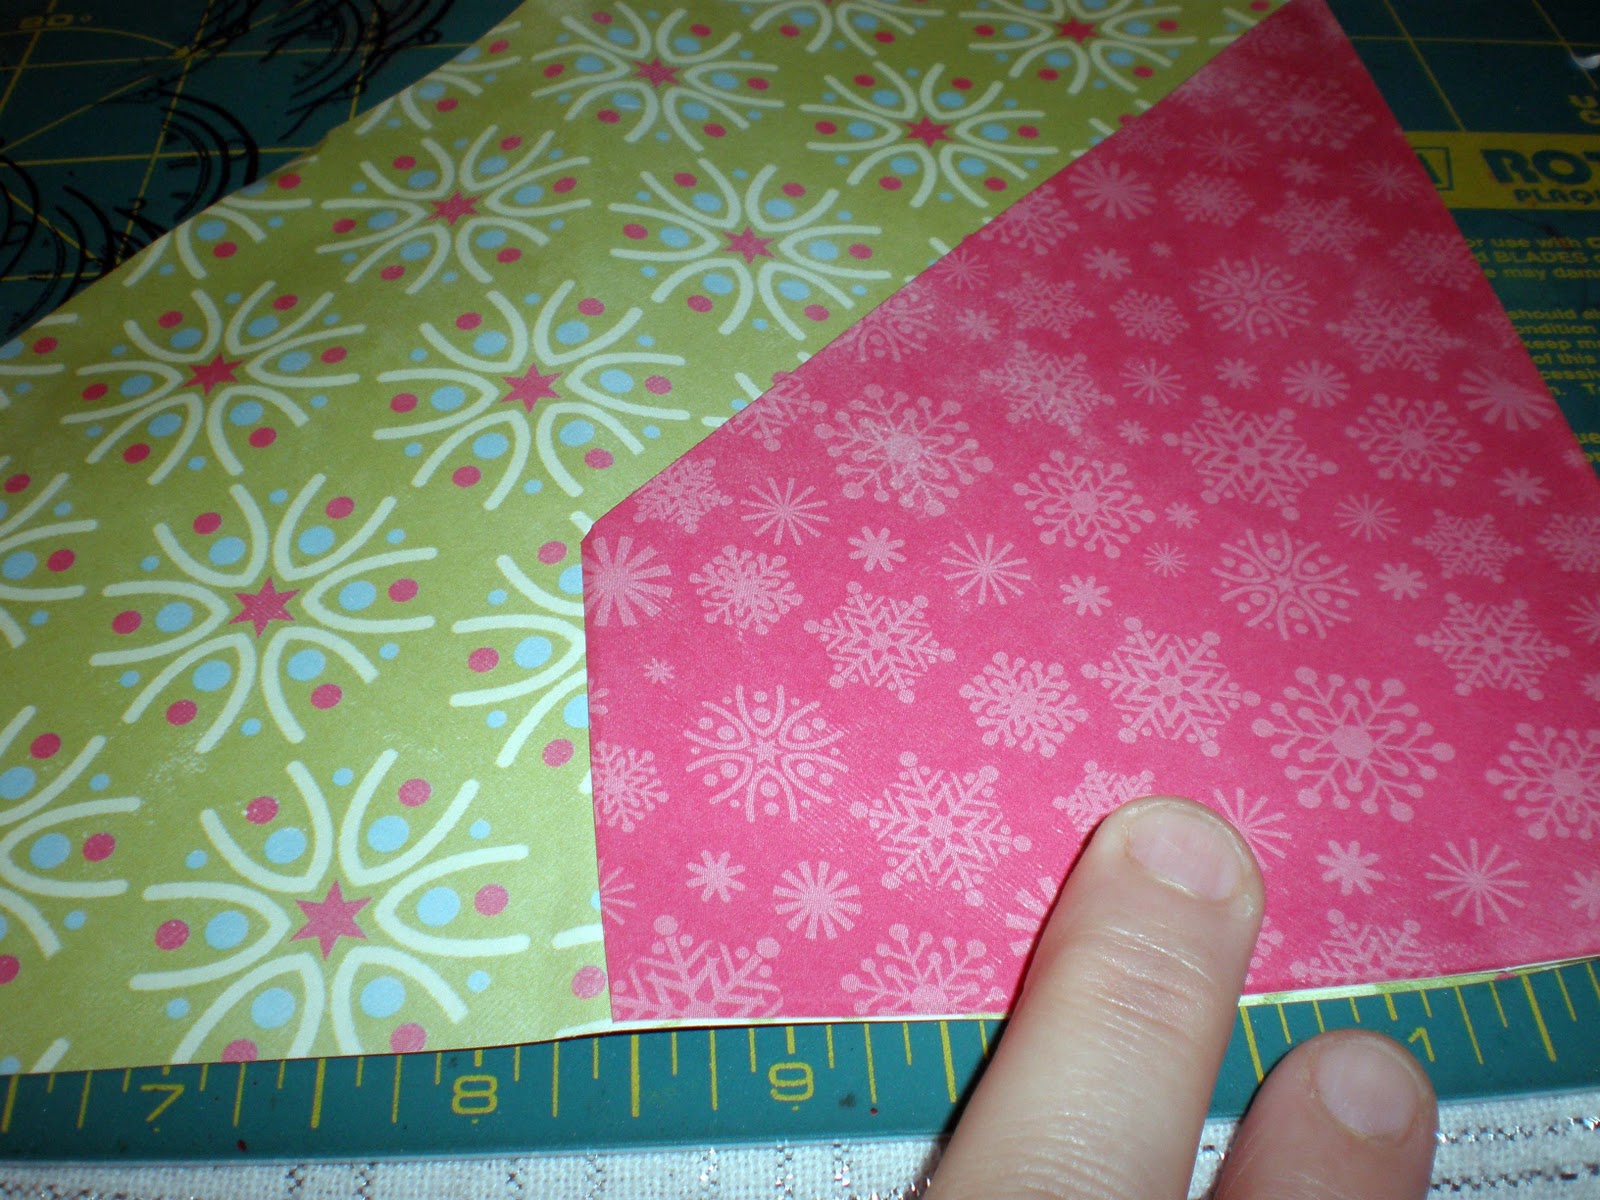
Today we are going to be turning this:


Into this:


Materials used:
Brown paper
Toilet rolls
Cracker snaps (bought at Spotlight)
Twine
Jokes (Google can help you here)
Lindt Balls
Scraps of Christmas Paper / Ribbon / Fabric.
Christmas stamps

Instructions:

Step 1: put the snap into the toilet roll. I very lightly taped them into place so they can still be pulled & snap.

Step 2: fill the roll with whatever goodies you like. I typed up some jokes that I found on the internet and wrapped these around my favourite chocolate - Lindt balls - yummo....

Step 3: roll up in brown paper & tie the ends with twine. I then used my pinking shears and trimmed the edges.

Step 4: Decorate with paper / ribbons / stamps / whatever scraps to have

That's it - all done!!! (And not a tissue paper hat in sight to ruin your hair!)

Saturday, December 11, 2010

On The 11th Day of Christmas

On The 11th Day of Christmas my true love gave to me some easy Christmas cards to please. LOL

There are no instructions as such for these but would love to see what cards you make. I am hoping to make a few more over the weekend and will post those when they are done.


Friday, December 10, 2010

On The 10th Day Of Christmas

Well here we are getting towards the end.

How about creating a layout ready for those precious Chrissy photos.

Layout Chrissy Magic.

Supplies: Cardstock: Pomegranite (1). Pattern Paper: Websters: Waiting for Santa, The Delivery, Fa-la-la, Making A List.Websters Floral Bouquet. Websters Journaling Cards. Green Gathered Ribbon Trim. Websters Fabric Wraps.

Layout Instructions:
1: On the top right hand side of  the Making a list pattern paper, measure down 1 1/2" from the top edge & 1" in on  the right hand side edge, measure down 3" from the 1 1/2" dot on the right hand side. Join up the dots to form a triangle.
2: Next cut out the triangle on the top and right hand side lines:
3: Cut a piece of the delivery pattern paper (red script) 4 3/4"wide x 3 1/2"long, stick this piece to the back of the pattern paper over the cut out section.
4: Adhere the pattern paper to the base cardstock. Then tear down the two sides of green pattern paper, roll over slightly, then stick with some double sided tape to the pattern paper.
5: Adhere the journaling card on the right hand side of the page underneath the green turned piece.
6: Adhere your 4" x 6" portrait photo 2 1/4" down & 4 1/8" in on the left hand side of he page.
7: Cut a piece  of the script red pattern paper 2 1/4" x 8", then adhere underneath the photo.
8: Adhere the smaller journaling card on top of the red script on the left hand side of the page.
9: Cut two pieces of music pattern paper 2" x 4", tear along he bottom edge of each piece, adhere one above the journaling card on the left, and the other underneath the photo.
10: Adhere a strip of green gathered ribbon trim, underneath the photo.
11: Remove the red organza flower and the two gold leaves from the bouquet, twist the pieces together. Tie the green & white circle fabric wrap into a bow around the stems. Adhere this piece to the right hand side of the  photo.
12: Cut out the birdcage and deer from the pattern paper. Adhere the deer on the bottom left hand side of the photo, & the birdcage in the top left hand side of the page.
13: Place your title across the top of the photo & on the left hand side.

Merry Christmas Everyone and i hope you enjoy the layout.

Marion xxxxxxx


Thursday, December 09, 2010

On the 9th Day of Christmas

This project is more of a craft project using scrapbooking tools and other supplies.

Banners seem to be all the rage at the moment - they are everywhere - so I decided to do a Christmas banner for the 9th Day - the link being 9 letters in Christmas.

Each of the triangles is a page from the Making Memories calico album. These already came with eyelets in the top corners - perfect - no punching required!

At one of my last trips to Spotlight I spotted some coloured hessian which I though would go great in a few Christmas projects - so for this project I cut red and green triangles of hessian and sewed them onto each of the calico pages.


I did this for 9 flags.

I then cut thin strips of fabric and tied the flags together


I cut the C H R I S T M A S letters 3 inches tall using my Slice. (Now don't fall over in shock that I actually used the Slice - I have had it for years & reckon I have used it maybe 6 times in total - how embarrassing!)

I glued the letters onto the flags and decorated the letters with a bit of bling.


and then that's it - ready to hang


If you are not into fabric and prefer paper - this project can easily be adapted to suit your preference.

I hope you have enjoyed the 9th Day project.

Natalie

Wednesday, December 08, 2010

On the 8th Day of Christmas


Well... it's not 8 Lords a Leaping... I have made an 8 page 8 x 8 inch album using a mix of different media.

As this album is about our family Christmas in 2010, I have made the pages but will wait until I have the photos from Christmas Day before I decorate them. So the pages are looking a bit plain jane at the moment but I'm sure you get the idea.


Page 1 is the front cover which is chipboard covered in Fabric
I covered one side of the chipboard in heavy duty glue (Pritt Power Gel) and stuck it to the reverse side of the material. I then folded & glued the edges in.


Page 2 is a piece of 8 * 12 inch Fancy Pants Tradition paper, one side of which was folded in to make an 8 x 8 square page with a flap / pocket on one side. The top and bottom edges were decorated using threading water punch.


Page 3 is a paper bag which has the opening on the side. I have cut a semi circle into the bag opening and inside the bag I am going to put the kids letters to Santa.


Page 4 - is an 8 x 8 inch piece of Fancy Pants Tradition patterned paper


Page 5 is a Fancy Pants Tradition flocked transparency.


Page 6 is a piece of green felt


Page 7 Page 2 is a piece of 8 * 12 inch Fancy Pants Tradition paper, one side of which was folded in to make an 8 x 8 square page with a flap / pocket on one side.


Page 8 is the back cover - I have left it undecorated to show you the fabric cover folded over & glued


The pages were really quick and easy to make and once complete, it will be nice to have an album specifically about Christmas.

I have punched holes in the pages & used a couple of split rings - but you could use ribbon / twine if you want to bind the album together.

I really enjoyed creating this album & I hope you have a go at making a Christmas 2010 album too!

Tuesday, December 07, 2010

7th Day of Christmas

On the 7th day of Christmas, my true love gave to me, seven swans a swimming. Apparently, this song is full of religious symbolism and the seven swans refer to the seven gifts of the Holy Spirit. So it’s apt that today’s creation is more of a gift than a Christmas project. It all started when I saw this photo wall hanging in the local photo shop. I was VERY tempted to buy it, until I saw the price: $108.

OMG, I could make one for much less. So here it is – a 7 frame photo wall hanging for day 7 – for under $20!


Step One:

Remove packing and glass from frames and lay them on a desk. Move them around until you are happy with the design/layout. It helps if you have a few long edges next to each other. I couldn’t find any oval frames, so mine is all square!


Step Two:

Lightly sand all the wood, it helps make the paint stick.

Step Three:

Paint each frame in a light colour, leaving some of the dark paint showing through. You can do a few colours if you want. You can also sand them once the paint is dry to get an aged look, or do a coat of crackle median before painting if you want.


Step Four:

Stick them together with really strong glue and I used clamps too. This takes a while to dry, so best to leave overnight. I’ve also used the hanging wires (yah for a K-mart photo hanging kit) to help strengthen the joints between the frames.

Step Five (optional):

Decorate and fill. I've used some Prima flowers, chipboard letters, Kaisercraft wooden flourish and Xmas ribbon.


Monday, December 06, 2010

On the 6th Day .... A Setting for Six

Welcome to the 6th day of the Divas 12 Days of Christmas

'On the 6th day of Christmas my true love gave to me six geese a laying', well at the Embellees 'table' they will be laying on our plates with these beautiful but, very quick and simple table settings.

As you have guessed by now I love to use up my 'stash', use my tools, mix in a few vintage/repurposed elements and go for simple and quick projects I can actually make happen in my busy life.  This year my niece is hosting Christmas lunch and she asked me to 'set the table'.  Her only request was to use hotpink as the core colour.  So here is sample of what our Christmas table is going to look like...kinda mini version, as I anticipate adding a few other bits of gorgeousness.....


To get started you need to grab:

  • Chrissy papers (4 sheets of double sided to match your decorations/table scape)
  • Punches (borders and shapes)
  • Die cuts for your Cuttlebug/Bigshot
  • Crochet doily
  • Cotton String
  • Dymo labeller

Step 1:  Making the Napkin Envelope

One 12  x 12 double sided paper cut in half on the diagonal


Folding into envelope shape (check out the photos and follow the steps)


Decorate to compliment your table scape or your chrissy theme (I wanted a vintage/shabby chic feel for our look this year).
  • I have used the Tim Holtz birdcage diecut to cut out blue glittered cardstock, book paper for the bird, spiral border punch (Martha Stewart), cotton string (oooh Michelle would be pleased I grabbed this from OfficeWorks), part of my vintage doily (refer to hint below) and not to be forgotten some kaiser bling!
Handy Hint:  Using old crochet doilies is all the rage at the moment.  I have purchased them from all over... Vinnies, markets, antique shops, but I always look for ones that have a good solid flower shape I can cut out.  I also love to use the other bits on projects - so in this one I have used little bits of the crochet on each project to tie them all together - just check out the state of the doily I used... it was a 20 cent one with a hole in it from Vinnies - but I just loved the green as it was unusual... all my 6 place settings will have different doily pieces - they don't need to be 'matchie matchie' gives more of that eclectic/shabby chic feel I want to achieve ....


Step 2:  Making the Name Holder

  1. Chose a diecut that will suit, in my case I have used the gorgeous Top Note from Stampin Up - such a versatile die cut.  Remembering I wanted to keep this simple.. you could just cut a square 4.5" x 3.5".
  2. Fold in half (I used a bone scorer to give me a crisp folded edge).

Again, you can decorate to match your table scape/decorations. 

  • I used my scallop punch and with a little mist of water damped down my shape to help with the 'scrunching' process.  I displayed this with the co-ordinating side of my double sided paper showing.
  • I added a small piece from my 'tattered' doily edge as a frill.
  • I couldn't resist another book page bird (cut from my Tim Holtz Sissix Die Cut on my cuttlebug/BigShot). 
  • To continue the vintage feel, I love using my dymo tape labeller and yes my name at home is Elizabeth (for those who know me as Lizzie).
Step 3:  Wrapping the Cutlery


  1. I just love this idea and what better way to introduce the very popular paper doily or benders as the catering bods call them.  I was just lucky enough to have hot pink ones in my stash (gotta luv those Hot Dollar Shops I frequent).
  2. Wrap your doily around your cutlery and fix in place.
  3. Cut a length off your 12" x 12" paper - approximately 1" wide and wrap it around the doily - finish this by leaving a tail to the left and cutting on the diagonal.
  4. Again, use the same technique above with your scallop punched circle misted and scrunched or if you have a Cuttlebug/BigShot emboss the scallop circle to add texture.
  5. To finish off your embellishment use similar bits to tie in with your name plate and napkin envelope - in my case I added some of the crochet doily, cotton string and dymo labelling!

Although this setting is simple and not loads of technique - that was the idea.  When you have to repeat a project to make multiples - you need to keep it simple.  In my case I have to replicate 3 items x 6 people - so the KISS principal had to apply ....  I also love that this used up my stash, had me using my Cuttlebug/Bigshot and punches (love to get the most out of the expensive tools I have) and, lastly included some vintage finds.

I hope your family will be just as happy when they sit down to Christmas lunch and see the effort you have gone to add that 'handmade' touch to your table - it will definitely give them a better understanding of what you have all that stuff for....

Wishing you all a very merry and safe Christmas!
from Lizzie @ Embellees